Media - Adjusting Images
Step-1
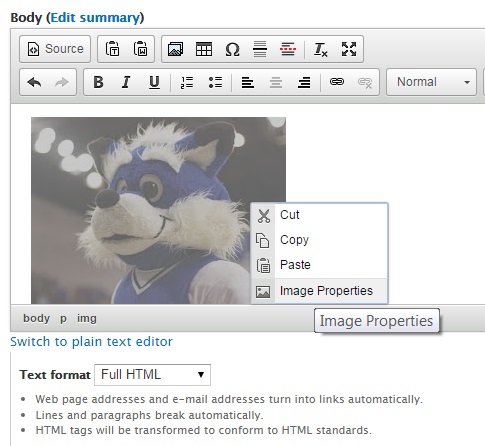
If you have a page that already has an image, you will need to start a new draft to make adjustments.
In order to make adjustments to an image, right click on the image and click on the Image Properties link.
Step-2
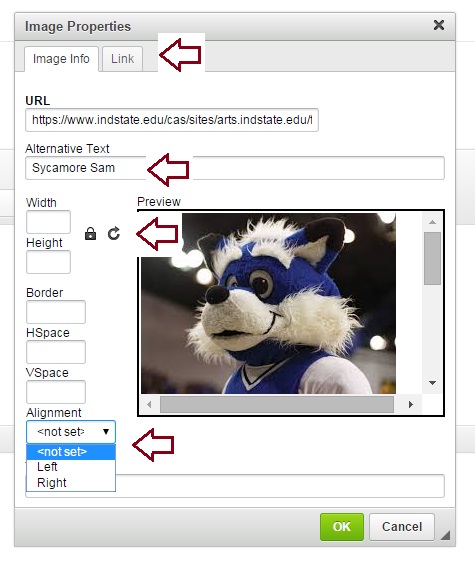
The Images Property box will open and offers several options to make adjustemts.
- There are 2 tabs at the top. The default is the Image info tab.
- The URL shows the URL that Drupal has created to the location of the image. You do NOT need to make any changes in that area.
- The Width and Height sections are locked so that, if you make an adjustment to one, the image will resize both to keep the proper aspect ratio. If you need to adjust either area individually, click on the lock icon to unlock them. When you add a number into either box, this will adjust the pixel size of the image.
- The Border box will allow you to add a border around the image. Adding a 1 to the box will create a 1 pixel border.
- HSpace and VSpace will add space around the image. This is helpful for when you have text wrap around your photo. This will add a little space between the image and any text or other images. H is horizontal and V is vertical.
- Alignment will allow you to position the image either to the left of the page or right. It will also allow text or other images to wrap around the image.
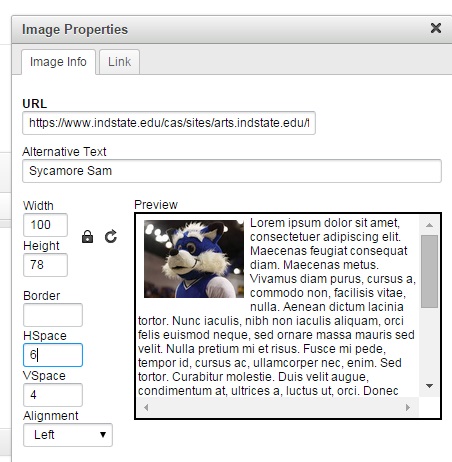
Here is an example of what my image would look like after making adjustments. When I changed the Width to 100 pixels, the Height was automatically adjusted to the proper size. This gives you a good idea how the image will look after I publish the page.
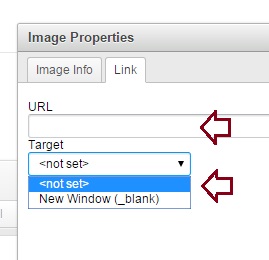
I can also turn the image into a link. When I click on the link tab in Image Properties, you see 2 areas.
First is the place for the URL. This determines where people will go when they click on your link. Second is an option to open a new window when people click on an image. A general rule of thumb is to use new window when your link takes people away from your site. This way, if someone clicks your image and opens another site, it will do so in a new window so that once they finish viewing that site, they will still have your site open.
Step-3
Once you have all of your adjustments done to your image, you will need to publish your page before people can see the changes.